Eggplant Parmesan Recipe
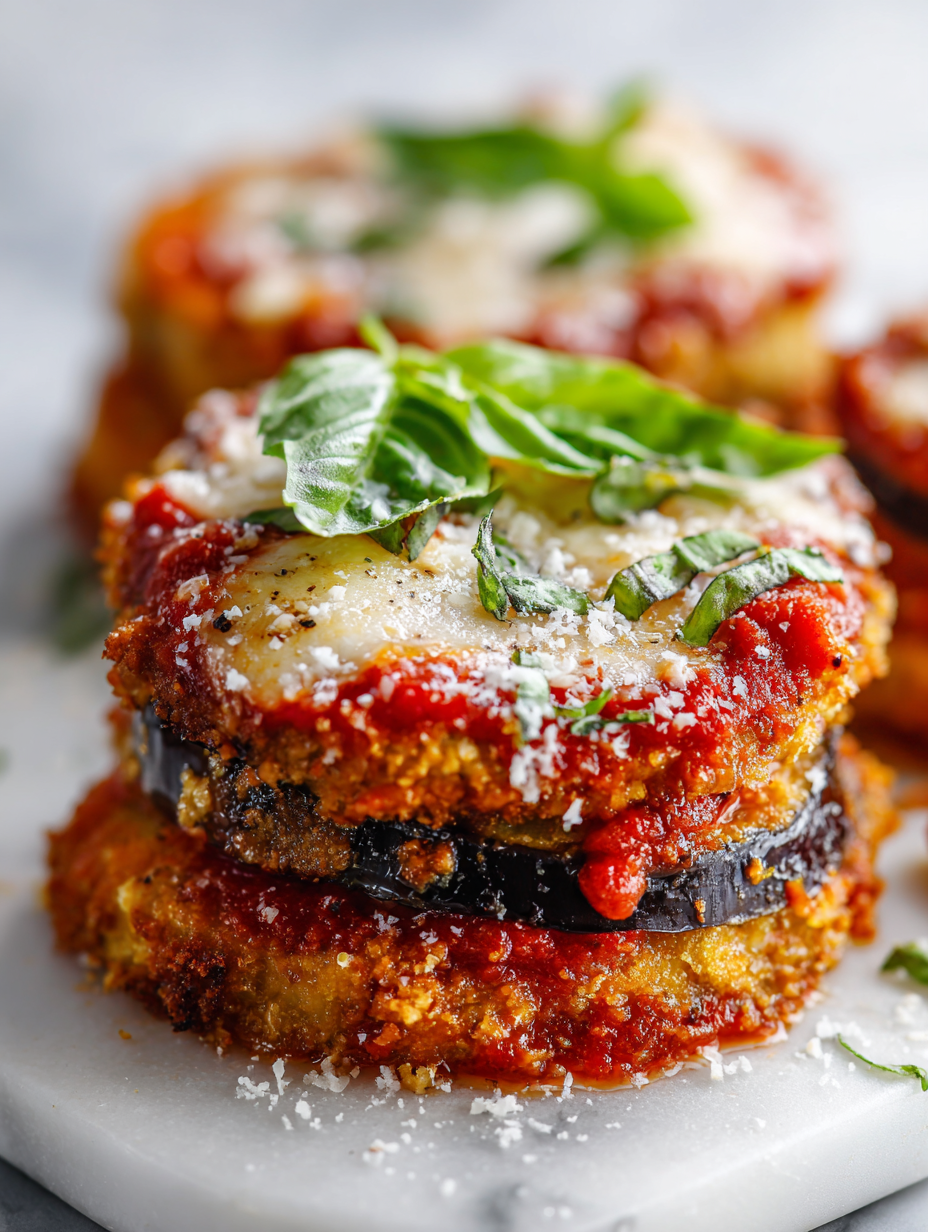
Eggplant Parmesan is one of those dishes that welcomes the messy, the imperfect, and the spontaneous. It’s less about perfect layering and more about feeling your way through the process—tasting, adjusting, and forgiving as you go. I love how a bit of extra cheese or a slightly crispy topping can turn a simple casserole into … Read more