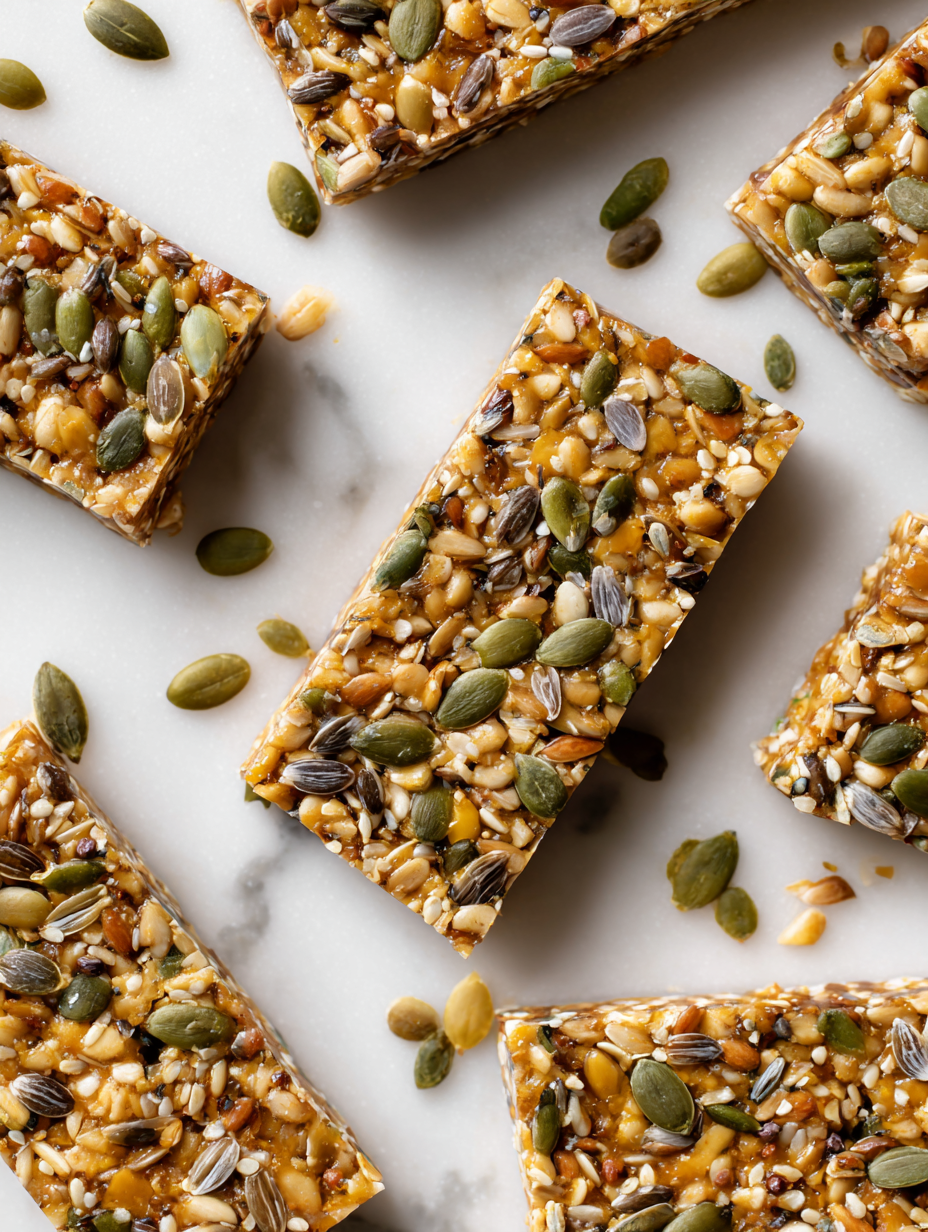
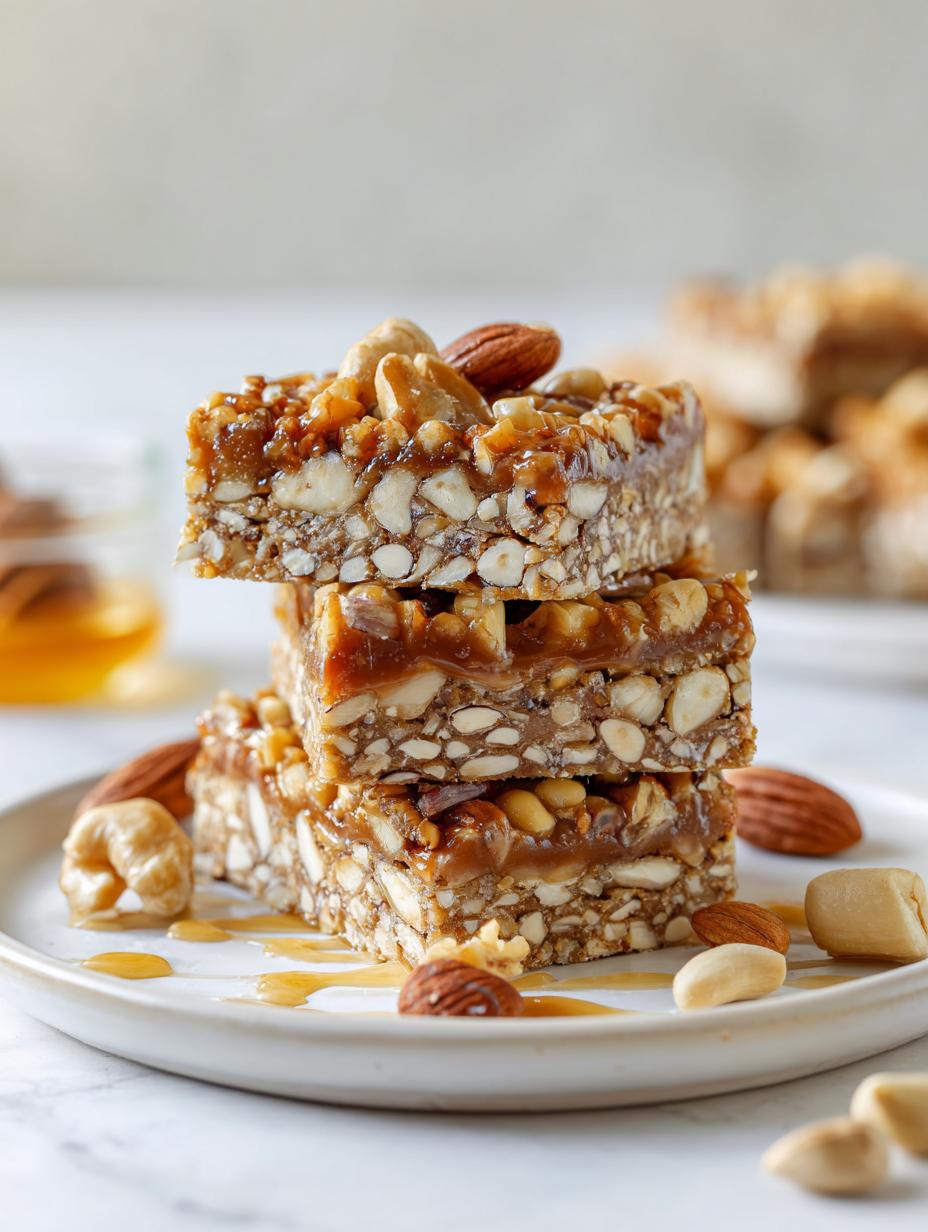
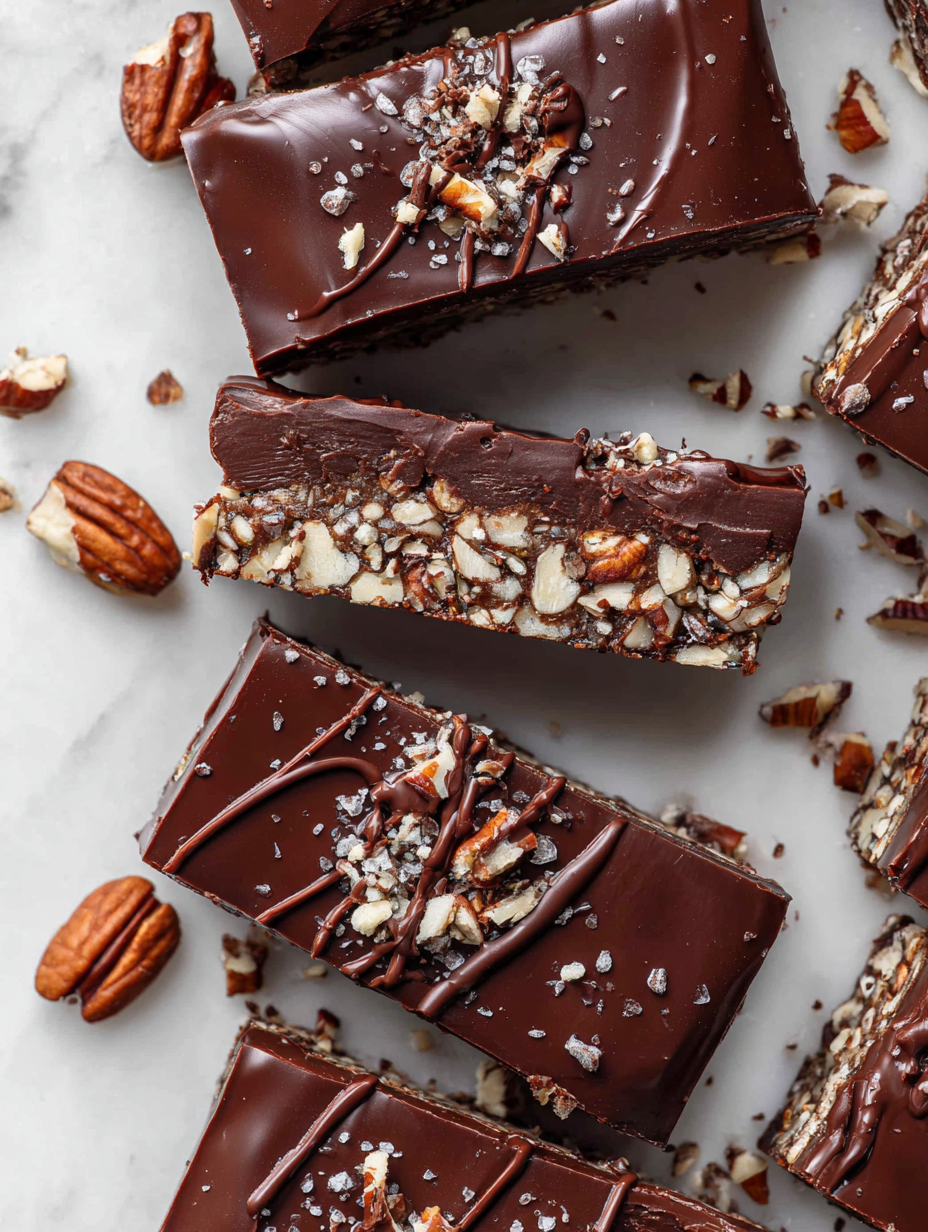
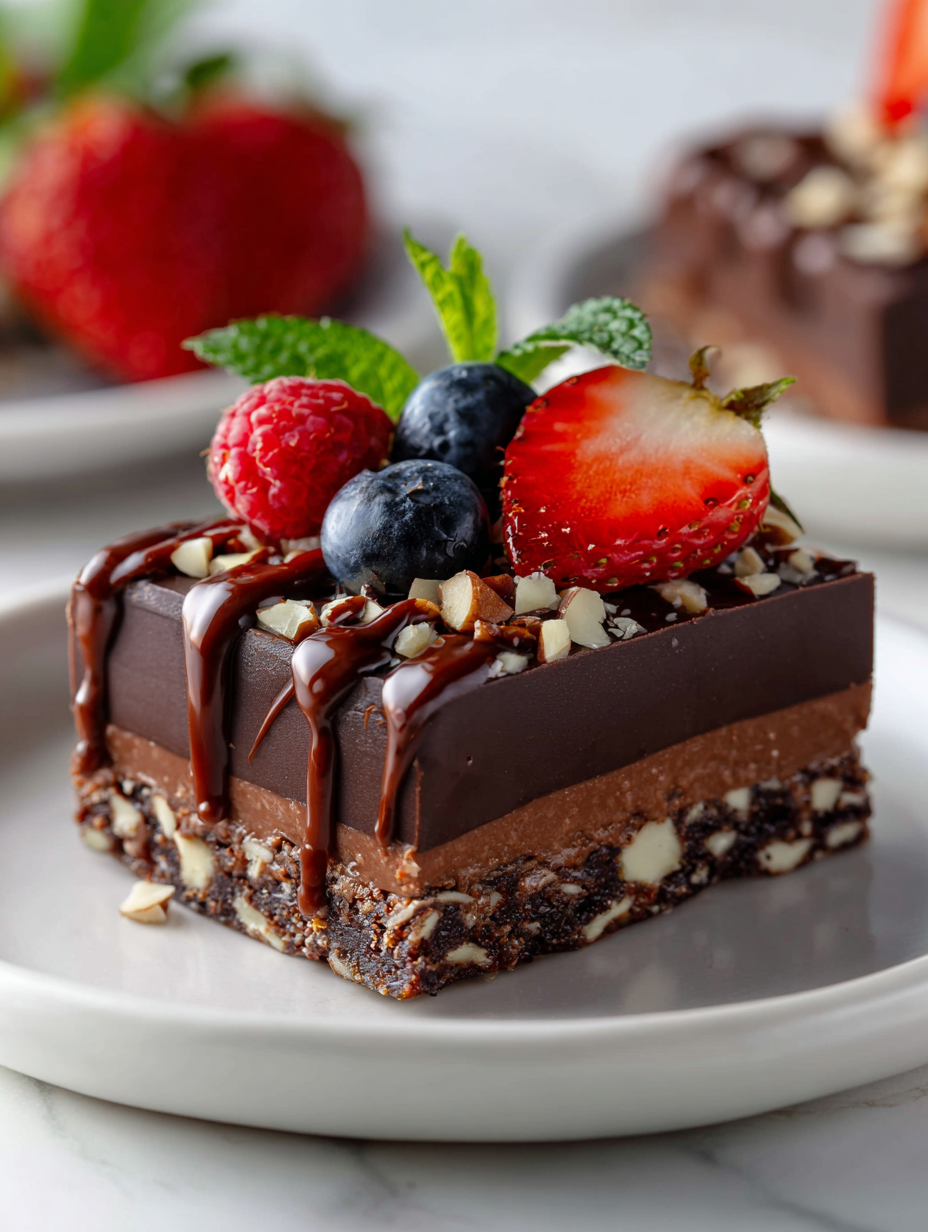
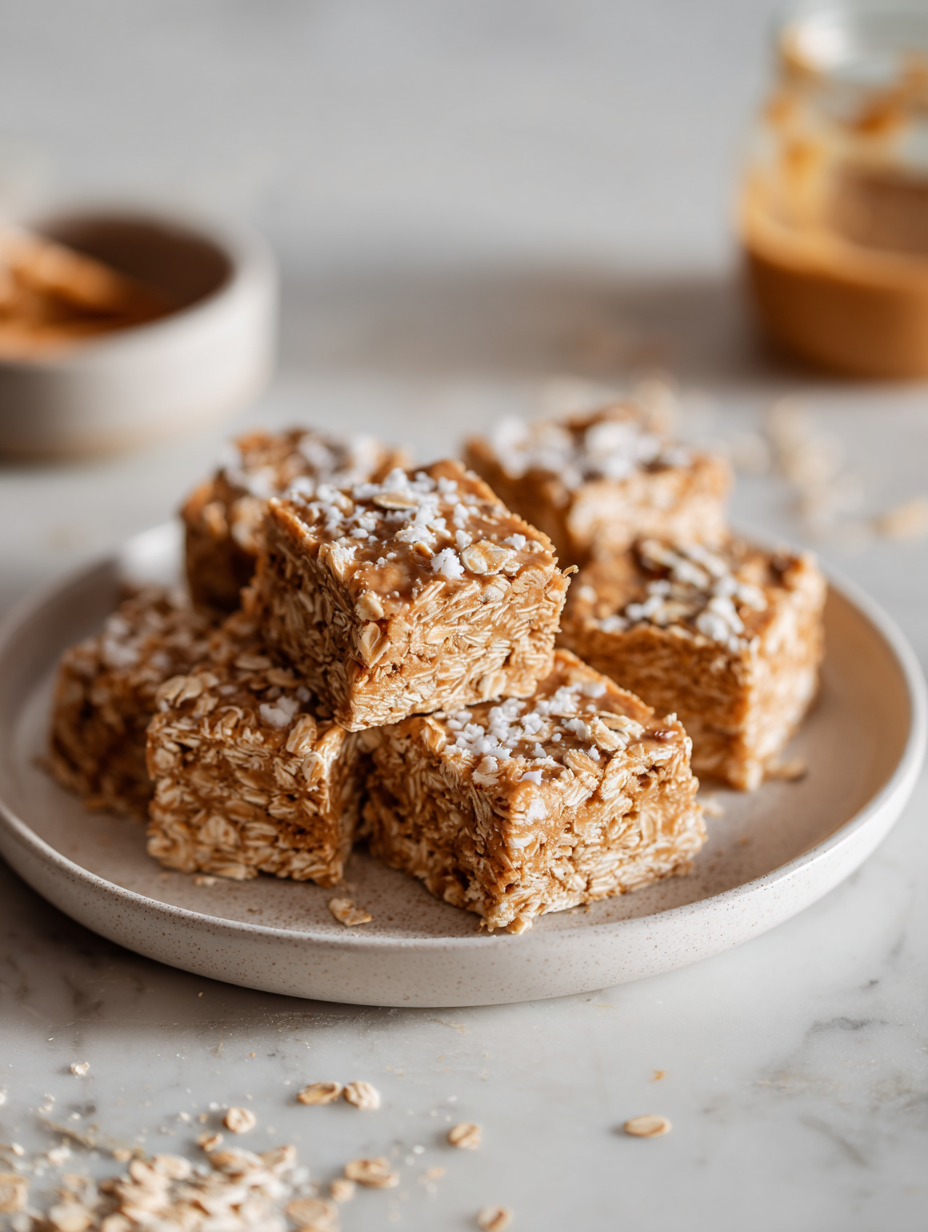
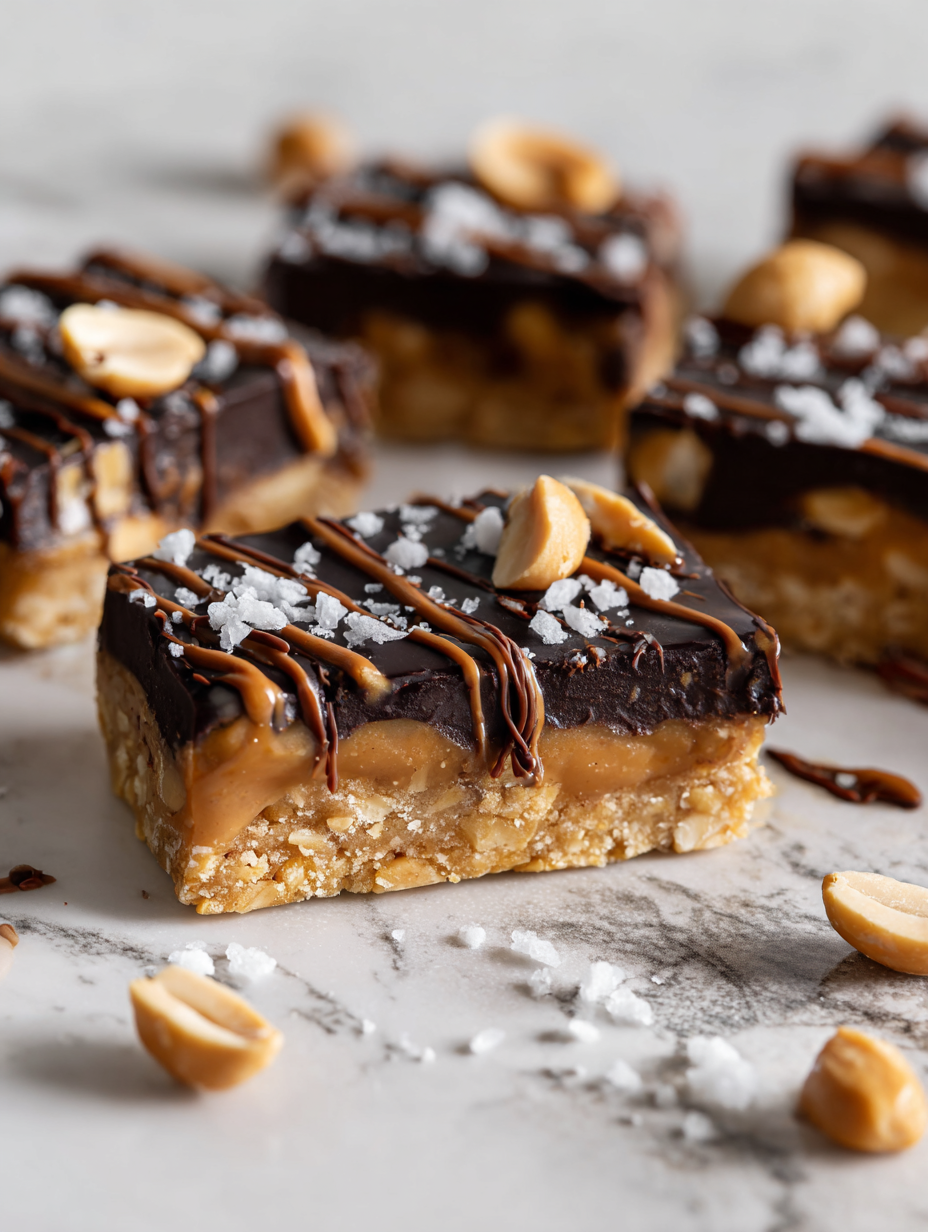
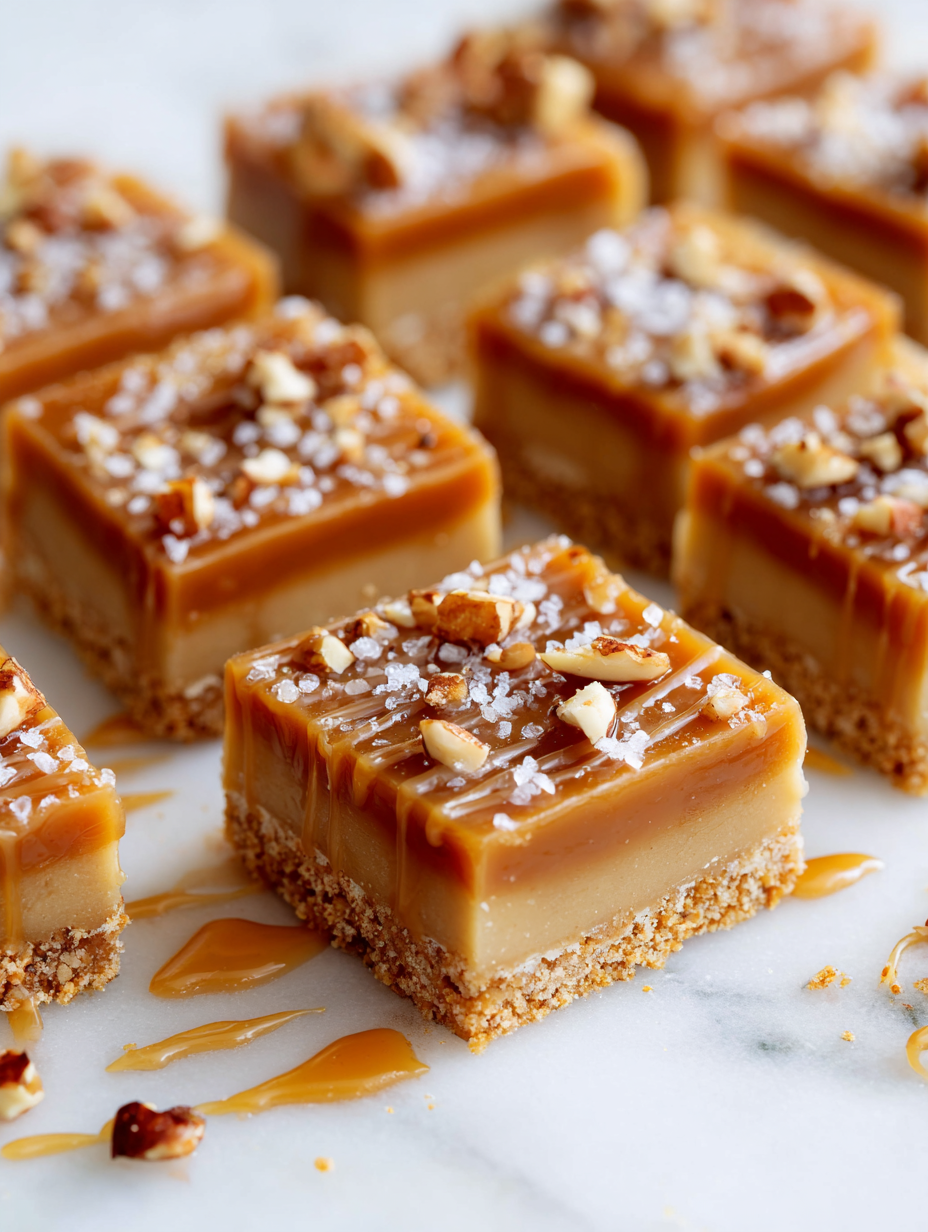
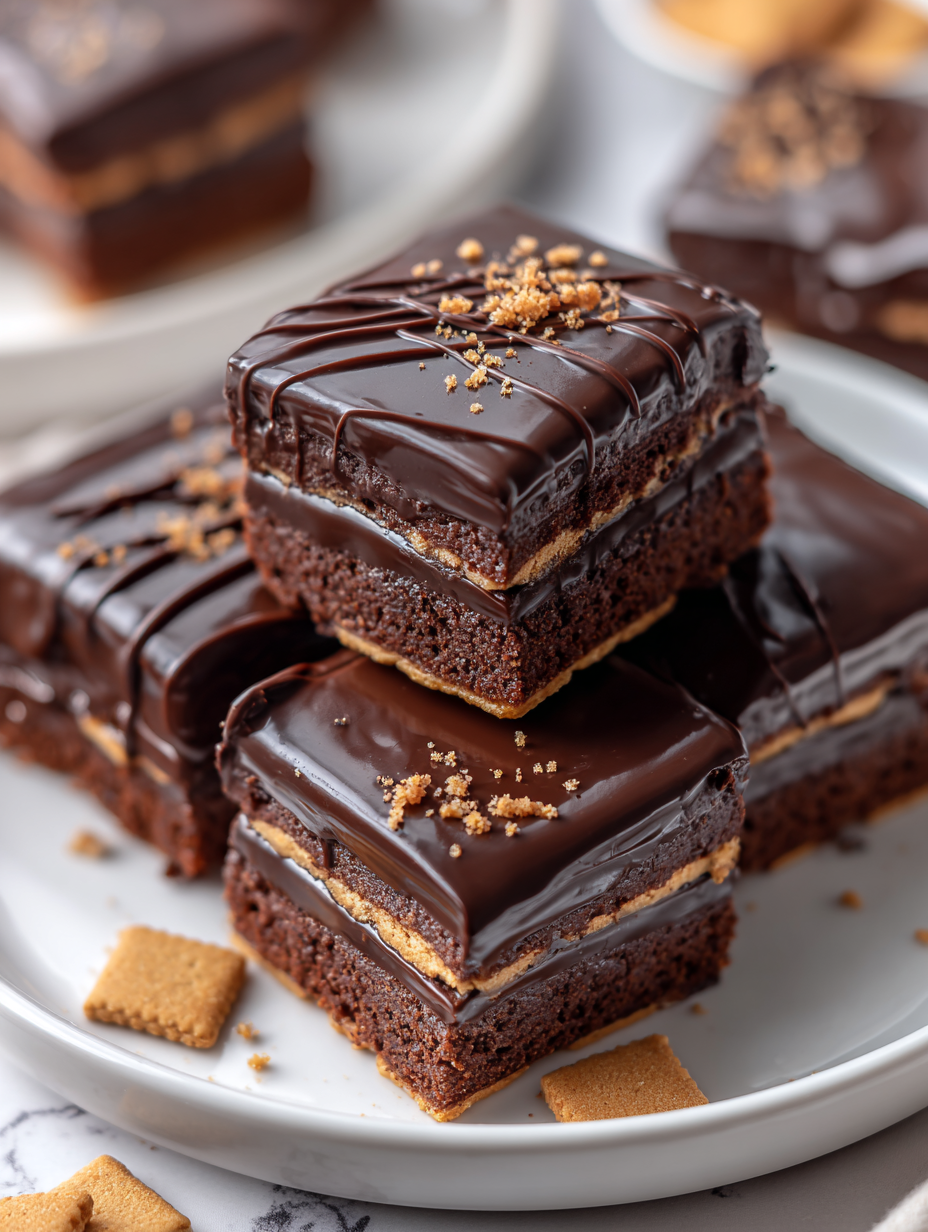
No Bake Chocolate Almond Bars Recipe
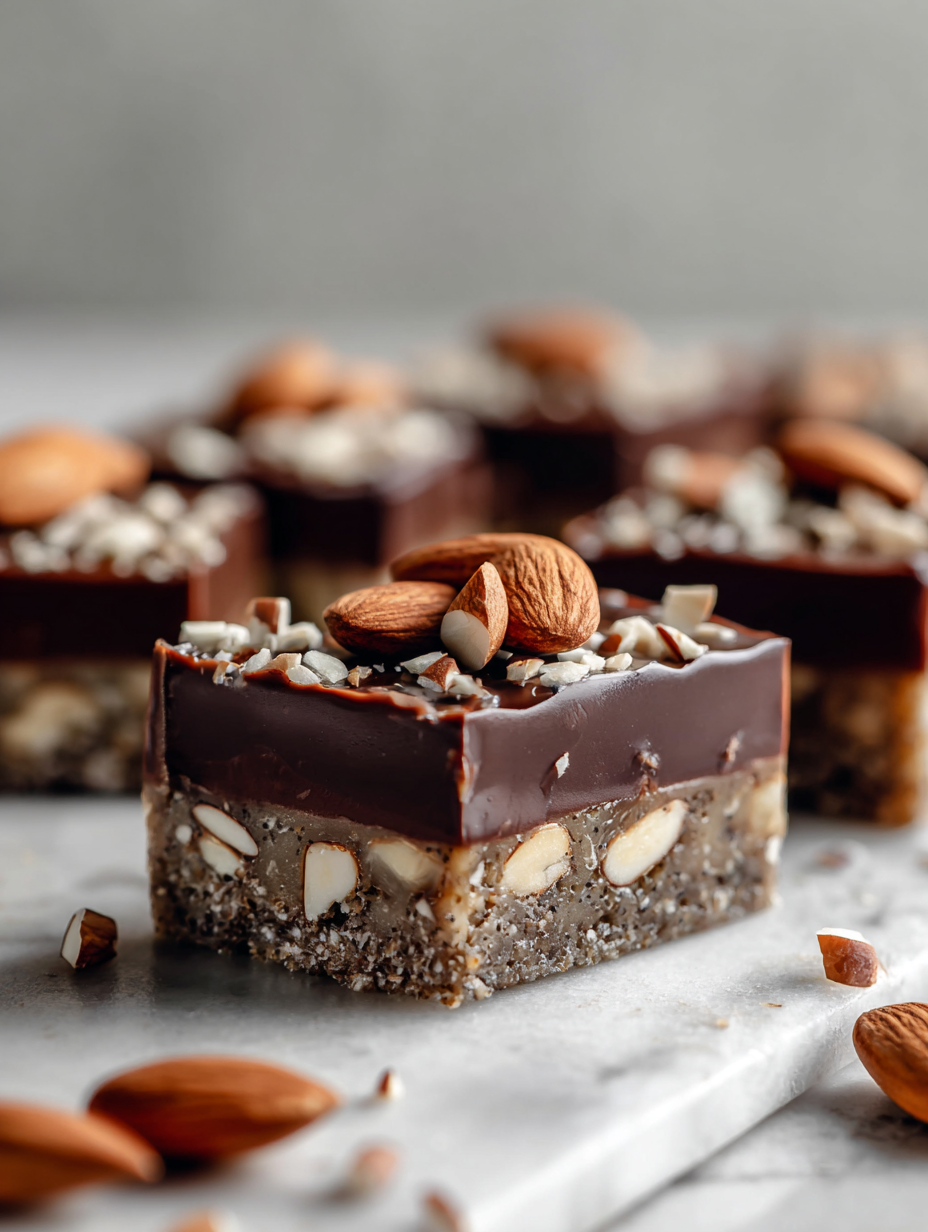
Sometimes, I just need a quick fix of something sweet that doesn’t require turning on the oven. These no-bake chocolate almond bars are my go-to for those moments. They’re rich, crunchy, and satisfy that chocolate craving without any fuss. What I love most is how adaptable they are—no fancy equipment needed, just a bit of … Read more