Vegan Broccoli Cheddar Soup Recipe
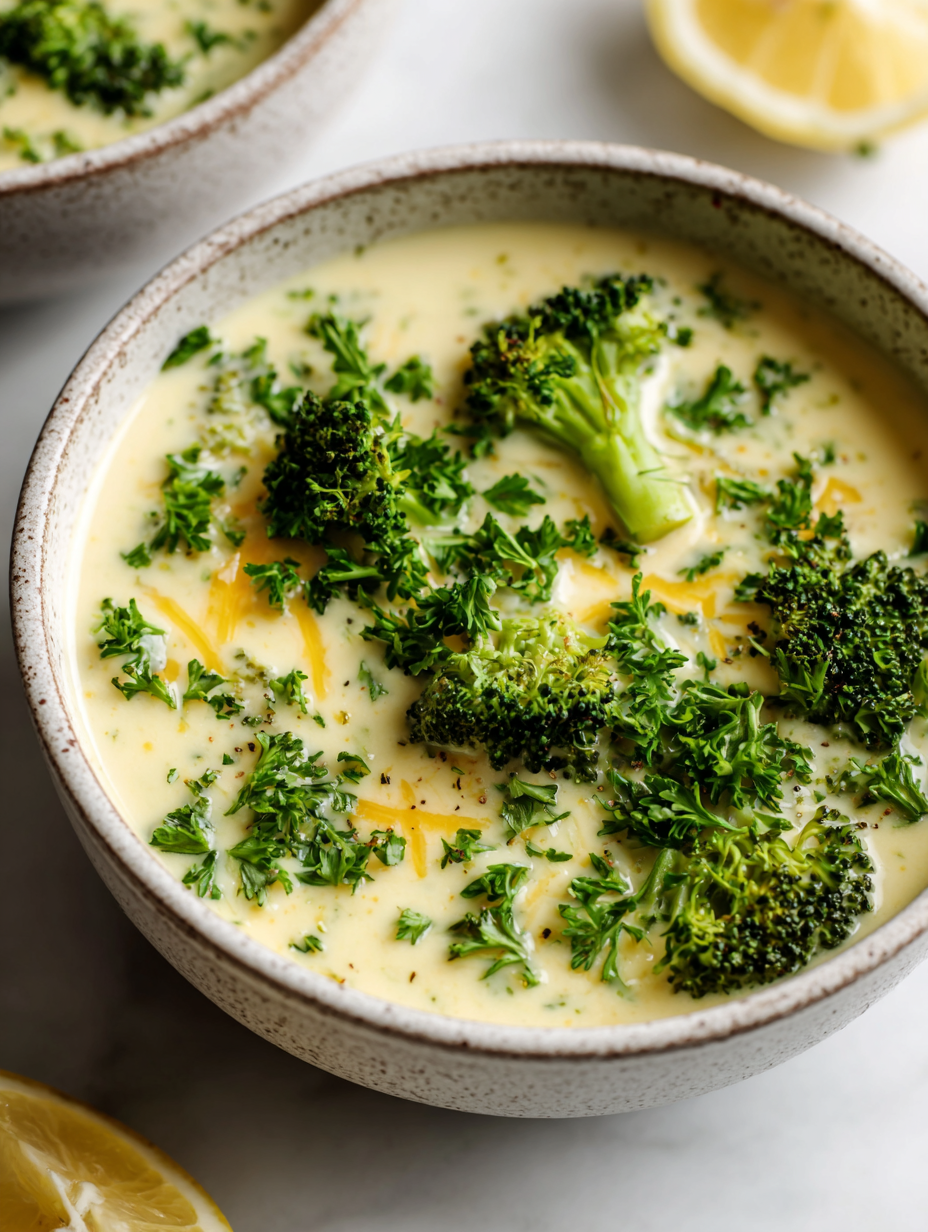
This vegan broccoli cheddar soup is a little rebellion against the usual creamy bowls. I love how it captures that rich, cheesy smell without any dairy—just good honest plant-based ingredients simmered until they meld into something cozy and familiar. Growing up, I always looked forward to those chilly nights when my mom would pull out … Read more